

You need a computer with Chrome or Edge and a USB-C cable that transfers data. A charge-only cable will not work.
1
Switch on the device and connect it
Switch on the robot or the control board and connect it to the computer with the cable. The computer does not see a device that is switched off.
2
Open the update site
Open update.primastem.com in Chrome or Edge.
3
Select the device
Choose Robot or Control board in the top two lines. Leave the other lines alone: they are test versions.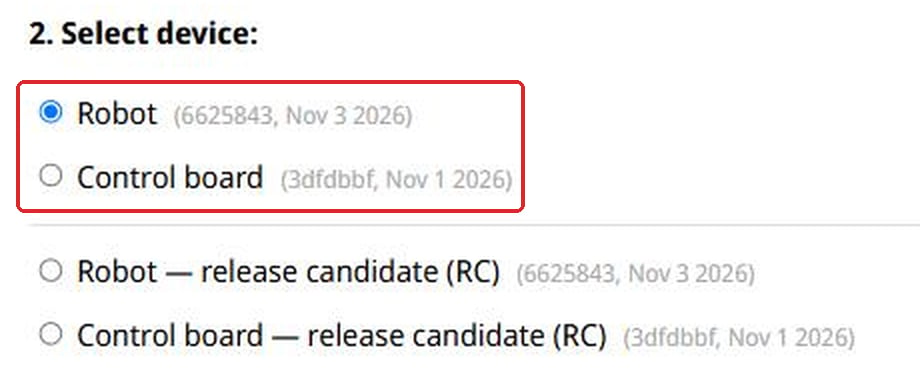
4
Select the language
Choose the language the device will speak.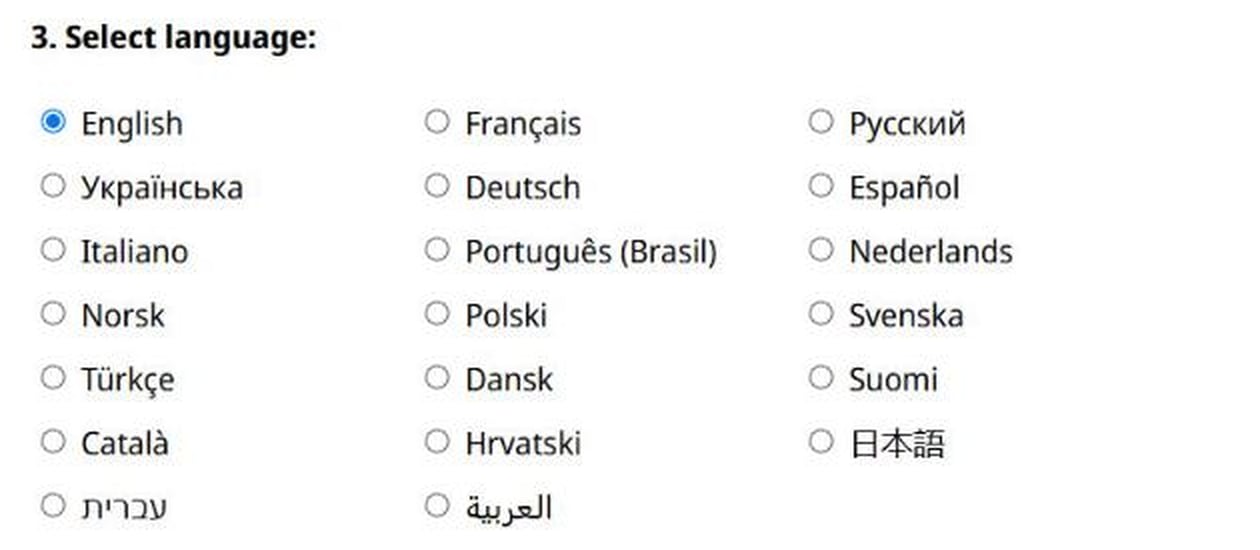
5
Click Connect
Click the blue Connect button at the bottom of the page.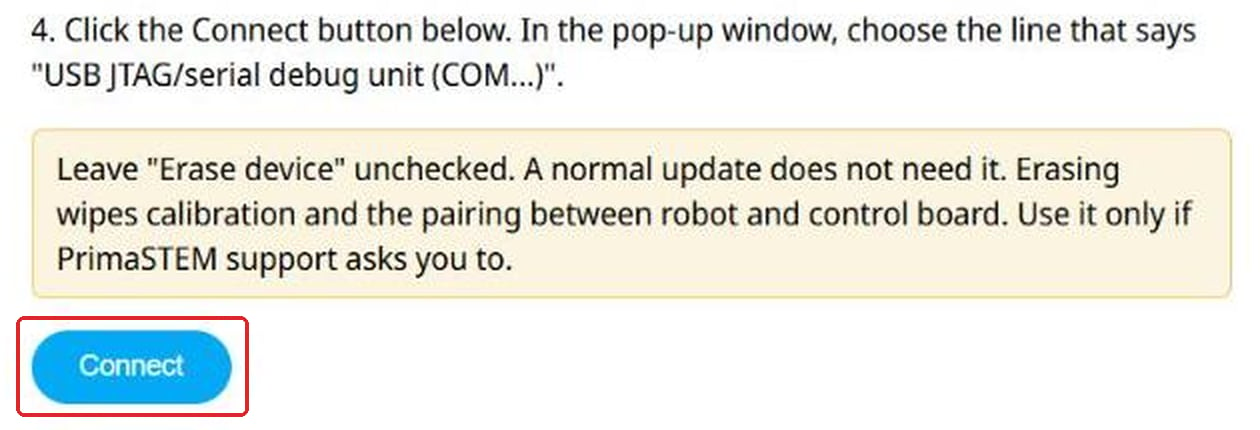
6
Choose the port
A window opens in your browser’s language. Select the line USB JTAG/serial debug unit (COM…) and confirm with the connect button in that window. The number after COM differs from one computer to another.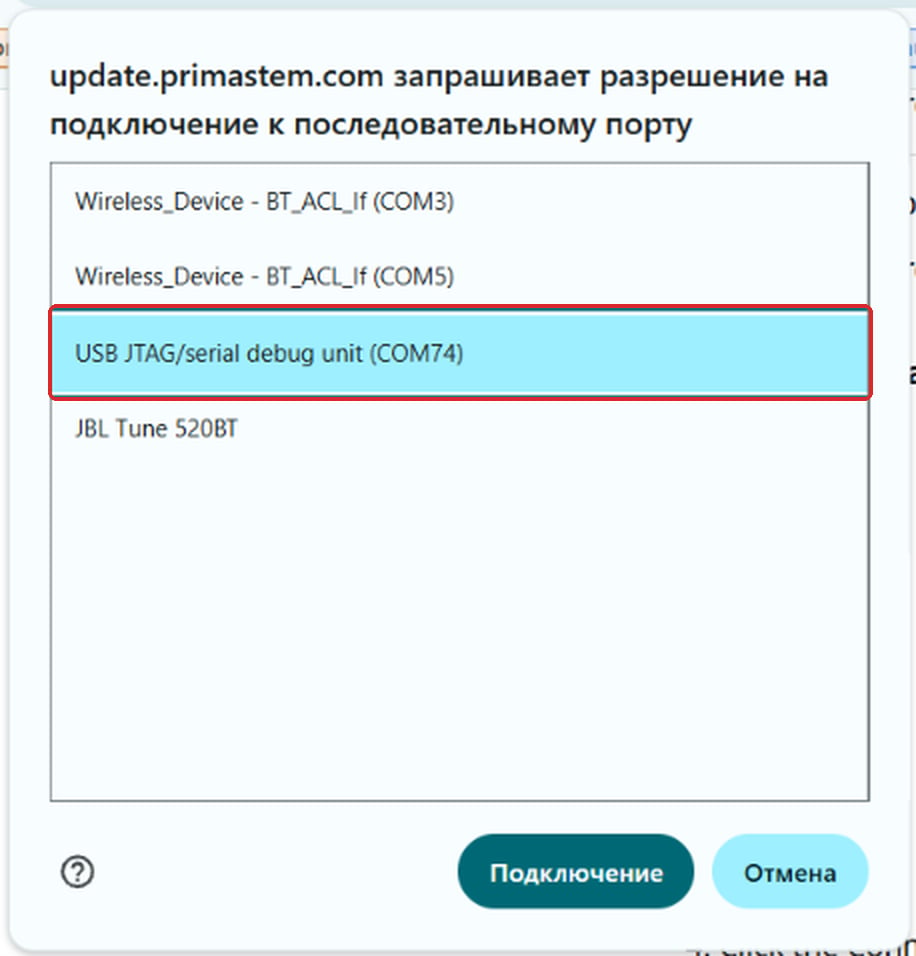
7
Start the installation
Click Install Robot update. For the control board this line says Install Control update.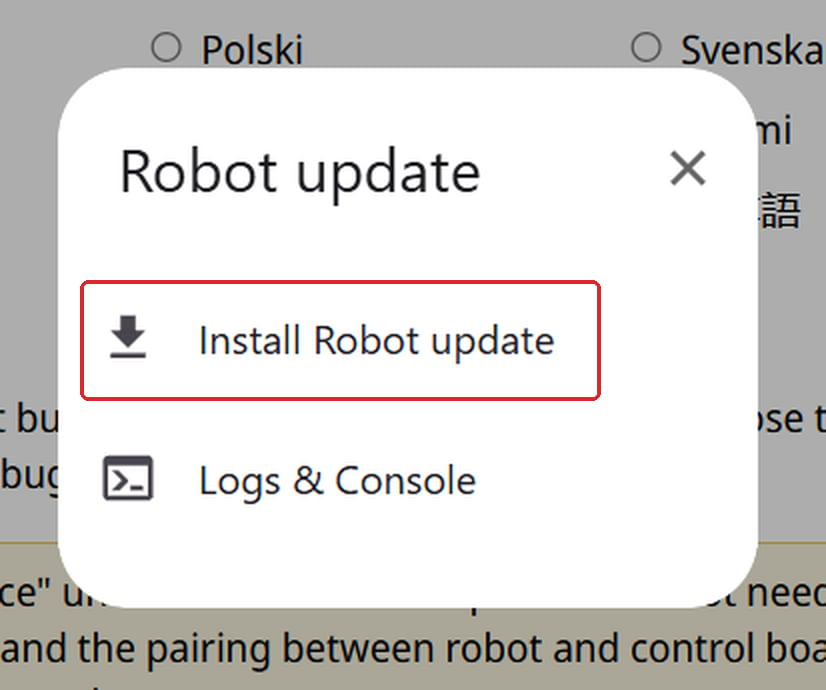
8
Leave Erase device unchecked
Leave the Erase device box empty and click Next. Erasing wipes the calibration and the pairing between the robot and the control board. Use it only if PrimaSTEM support asks you to.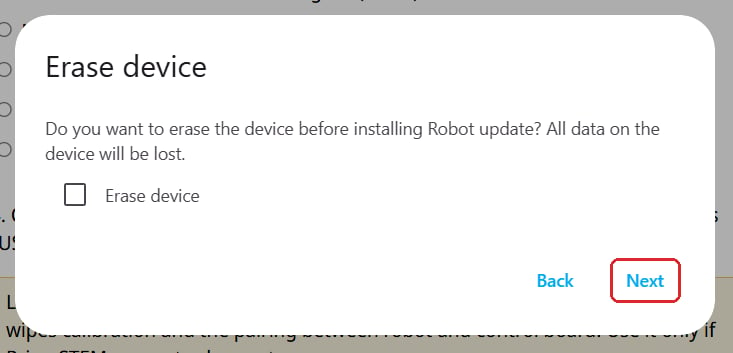
9
Confirm
Click Install.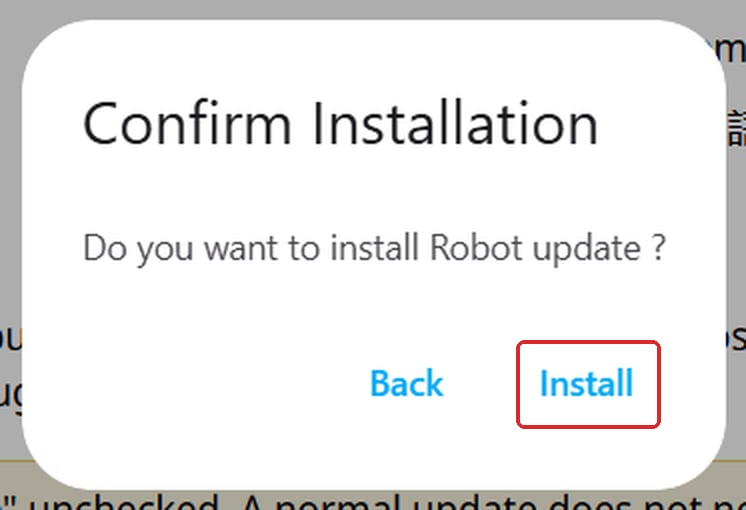
10
Wait
The update takes about 2 minutes. Keep this page on the screen and do not unplug the cable.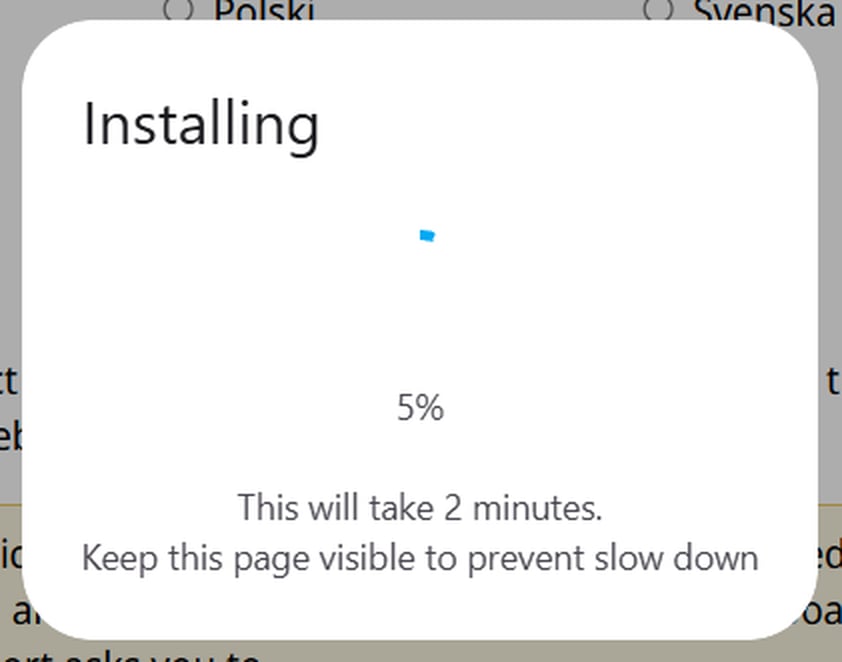
11
Finish
When you see Installation complete!, click Next, close the window and unplug the cable.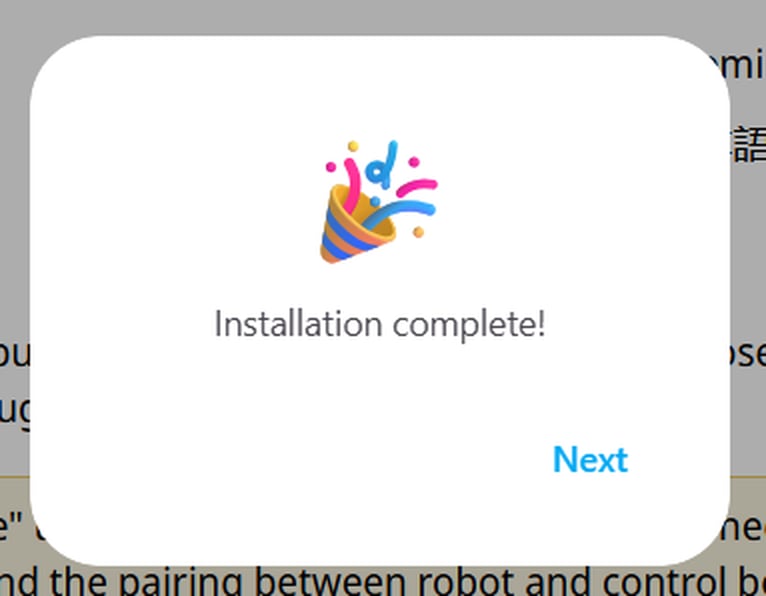
If something goes wrong
- The robot and the control board do not connect. Pair them again, see Connecting the Board and Robot.
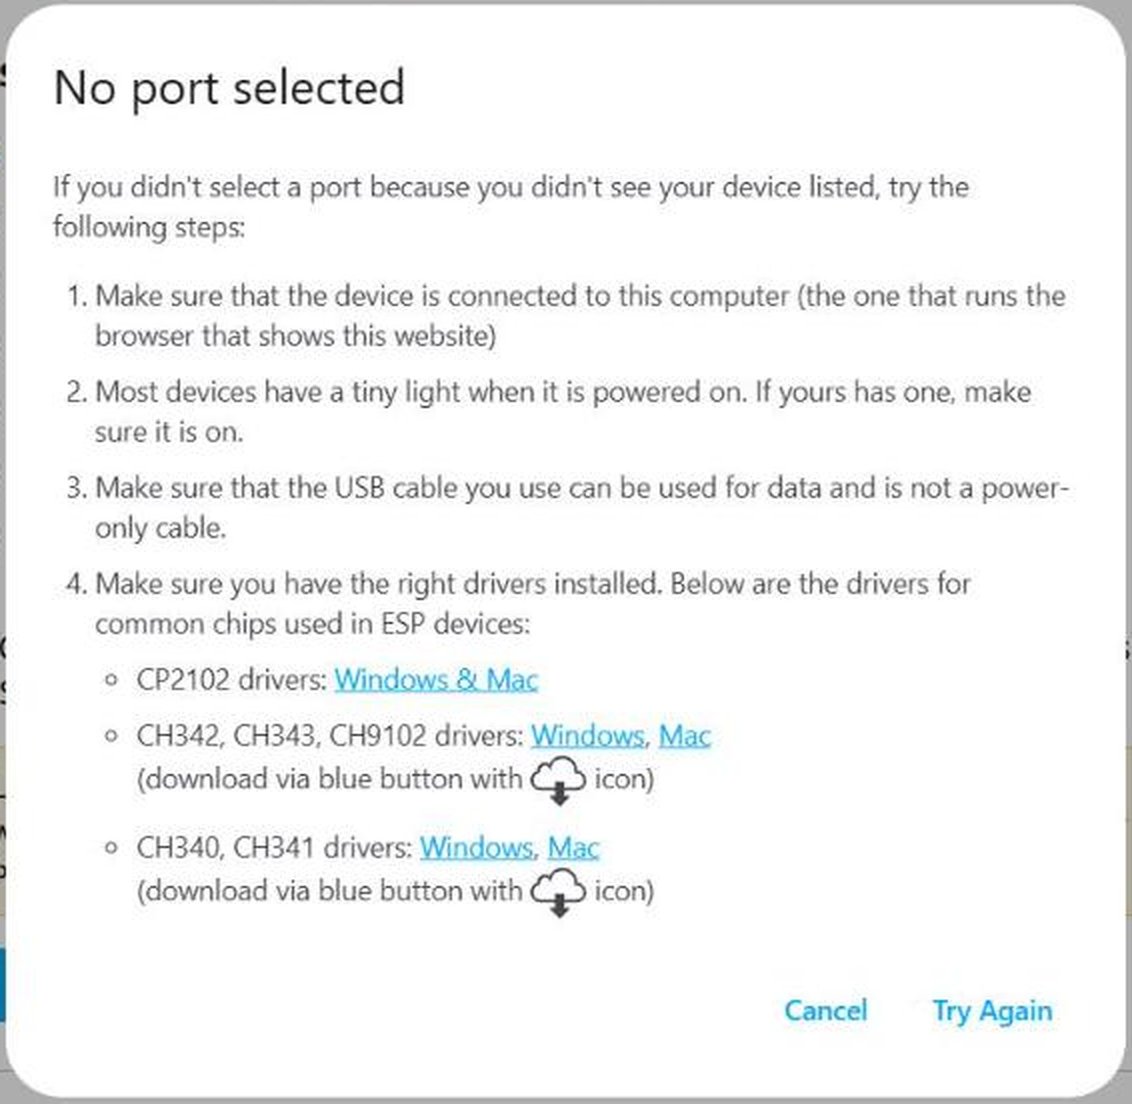
- The No port selected window appears. The computer did not find the device, or no line was selected in the list. Check that the device is on and that the cable transfers data, then click Try Again.
- The update stops with Installation failed. Unplug the cable, plug it back in and start again from step 2. If this does not help, contact us.