Relevance
Modern children show interest in video games and electronic devices from an early age, quickly mastering them. Parents recognize the importance of information technologies for their child’s successful development, while also striving to maintain a balance between learning and their children’s health.
- psychological difficulties,
- gaming addiction,
- deterioration of vision and physical health.
Goals and Objectives
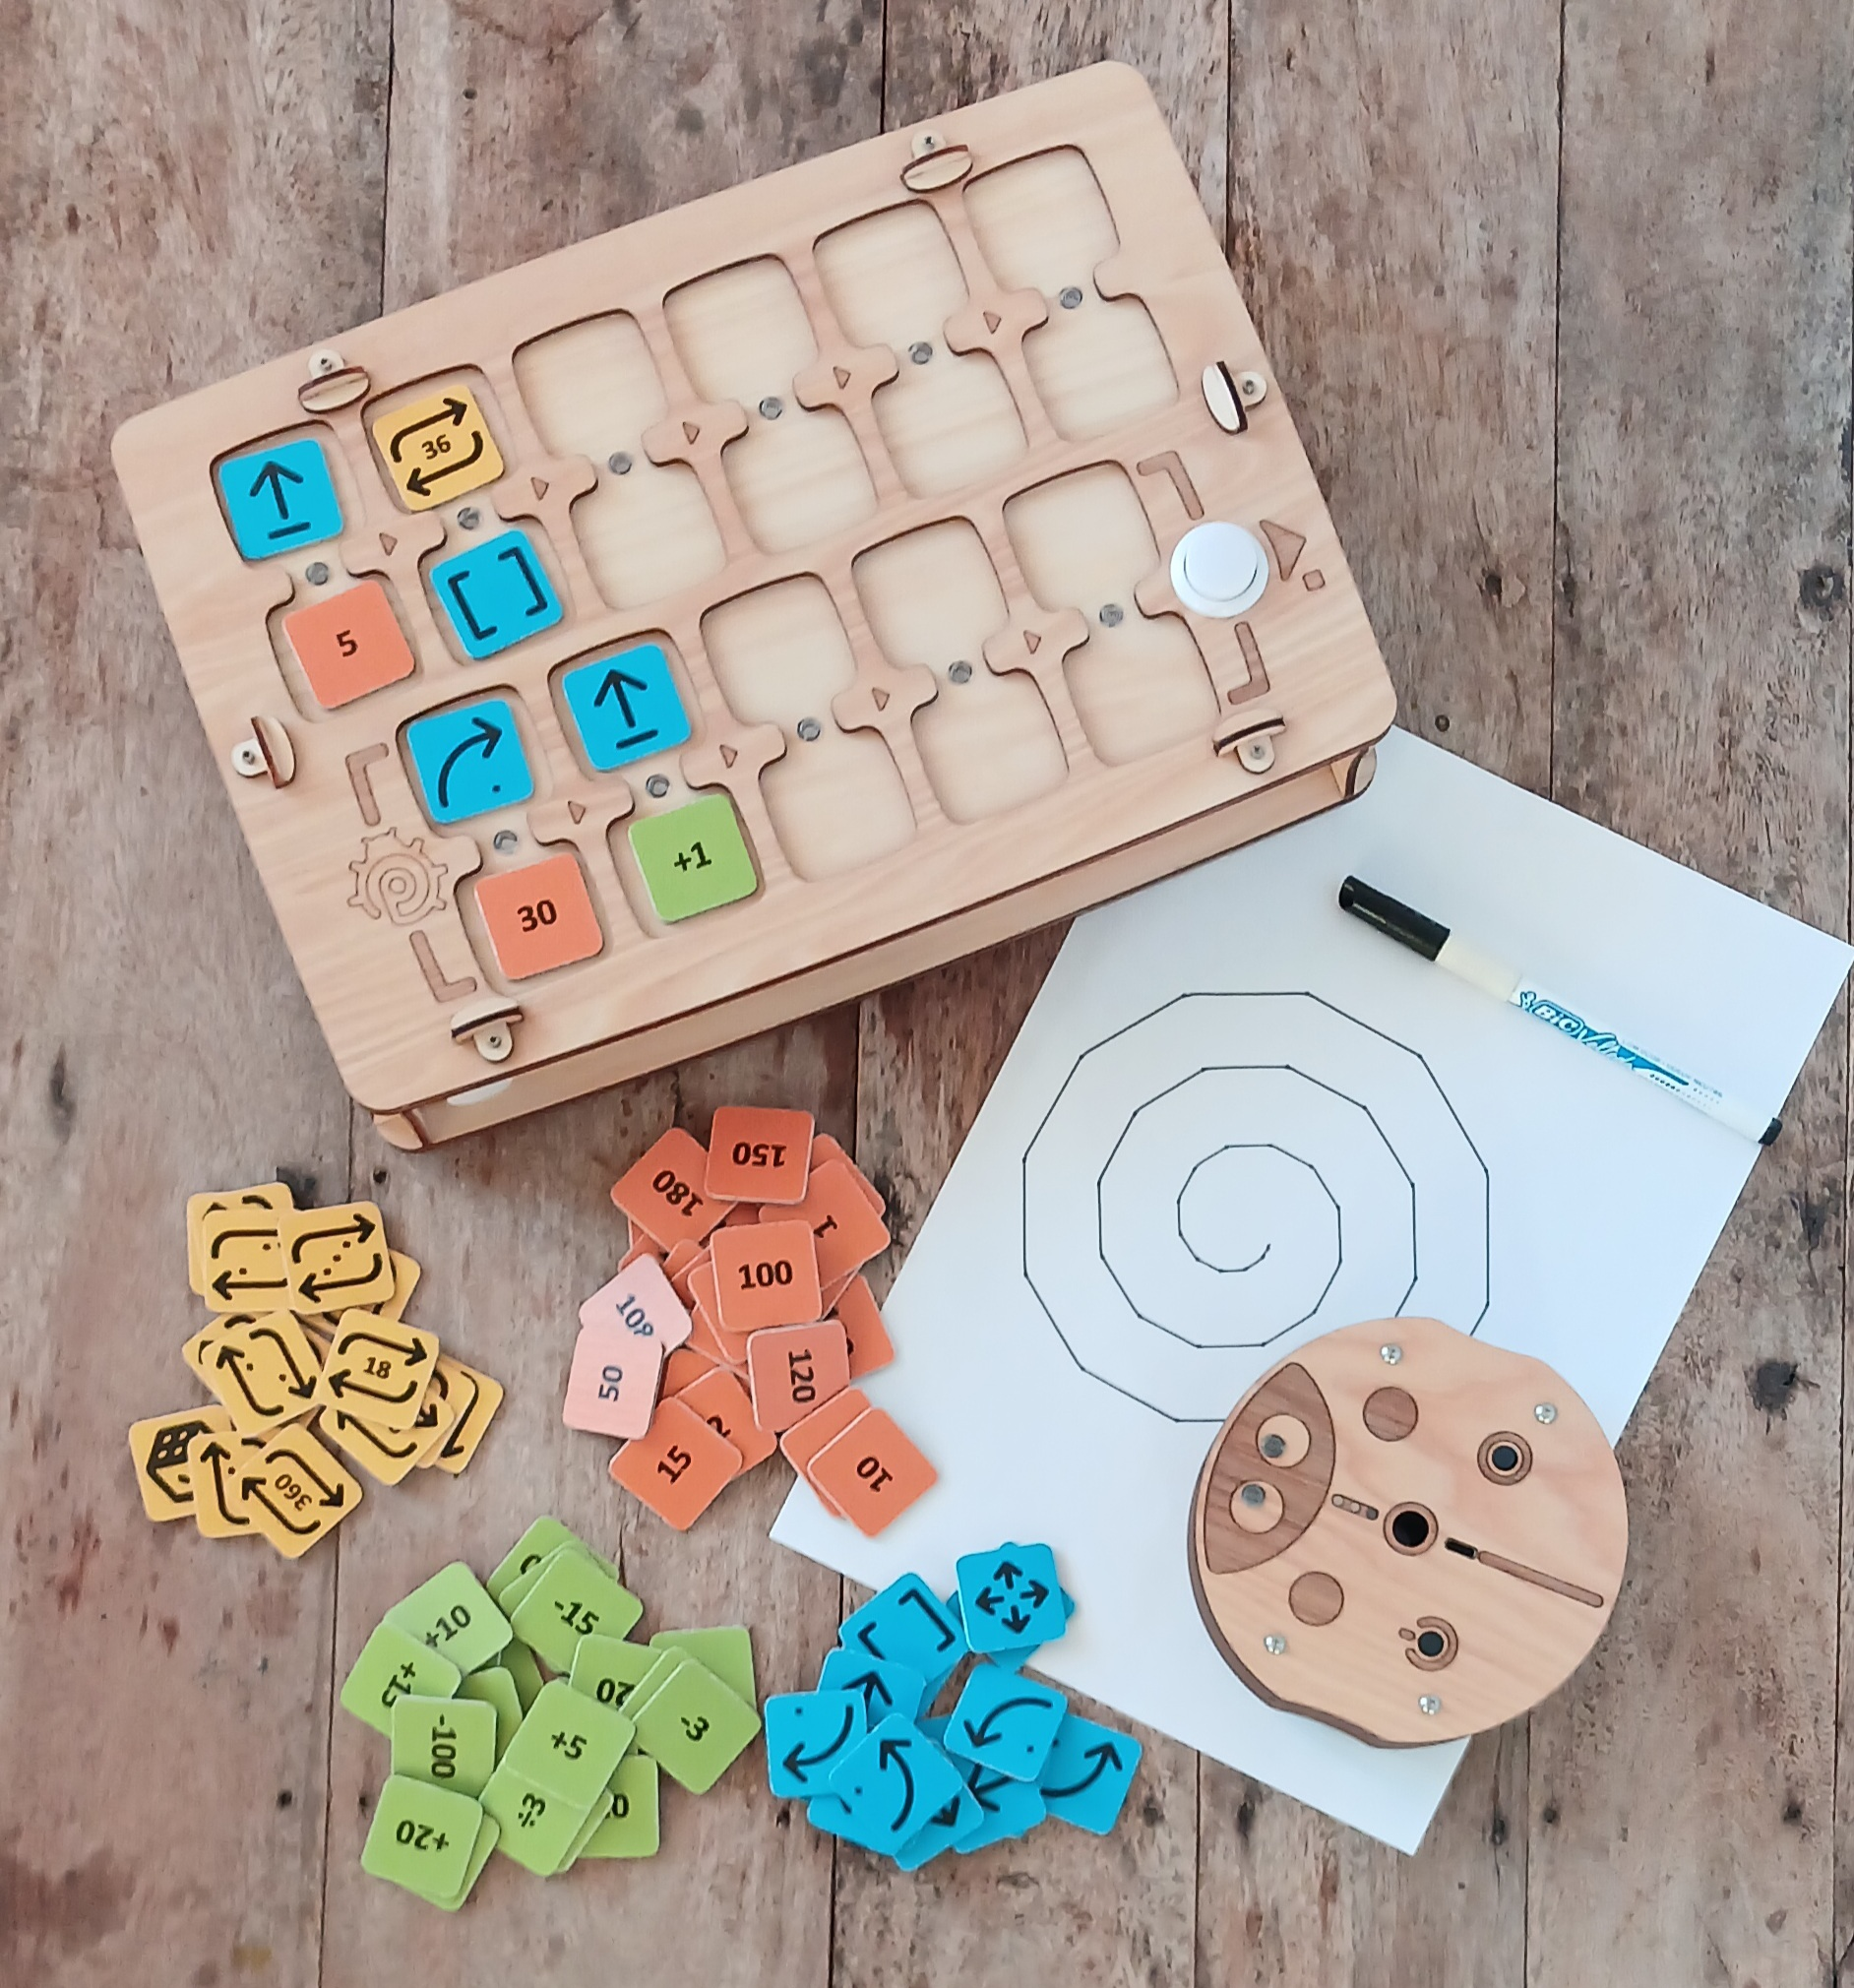
This educational tool helps children from age 4 learn programming, logic, and mathematics without screens. With PrimaSTEM, children master:- numbers,
- spatial orientation,
- algorithms,
- logical thinking,
- programming fundamentals,
- arithmetic operations and progressions,
- geometric concepts.
- versatility of application,
- engaging and visual format,
- screen-free learning,
- suitable for preschool and early school-age children,
- natural materials.
🎯 Main goal — developing cognitive skills through tangible and visual understanding of programming fundamentals and the meaning of program execution results.
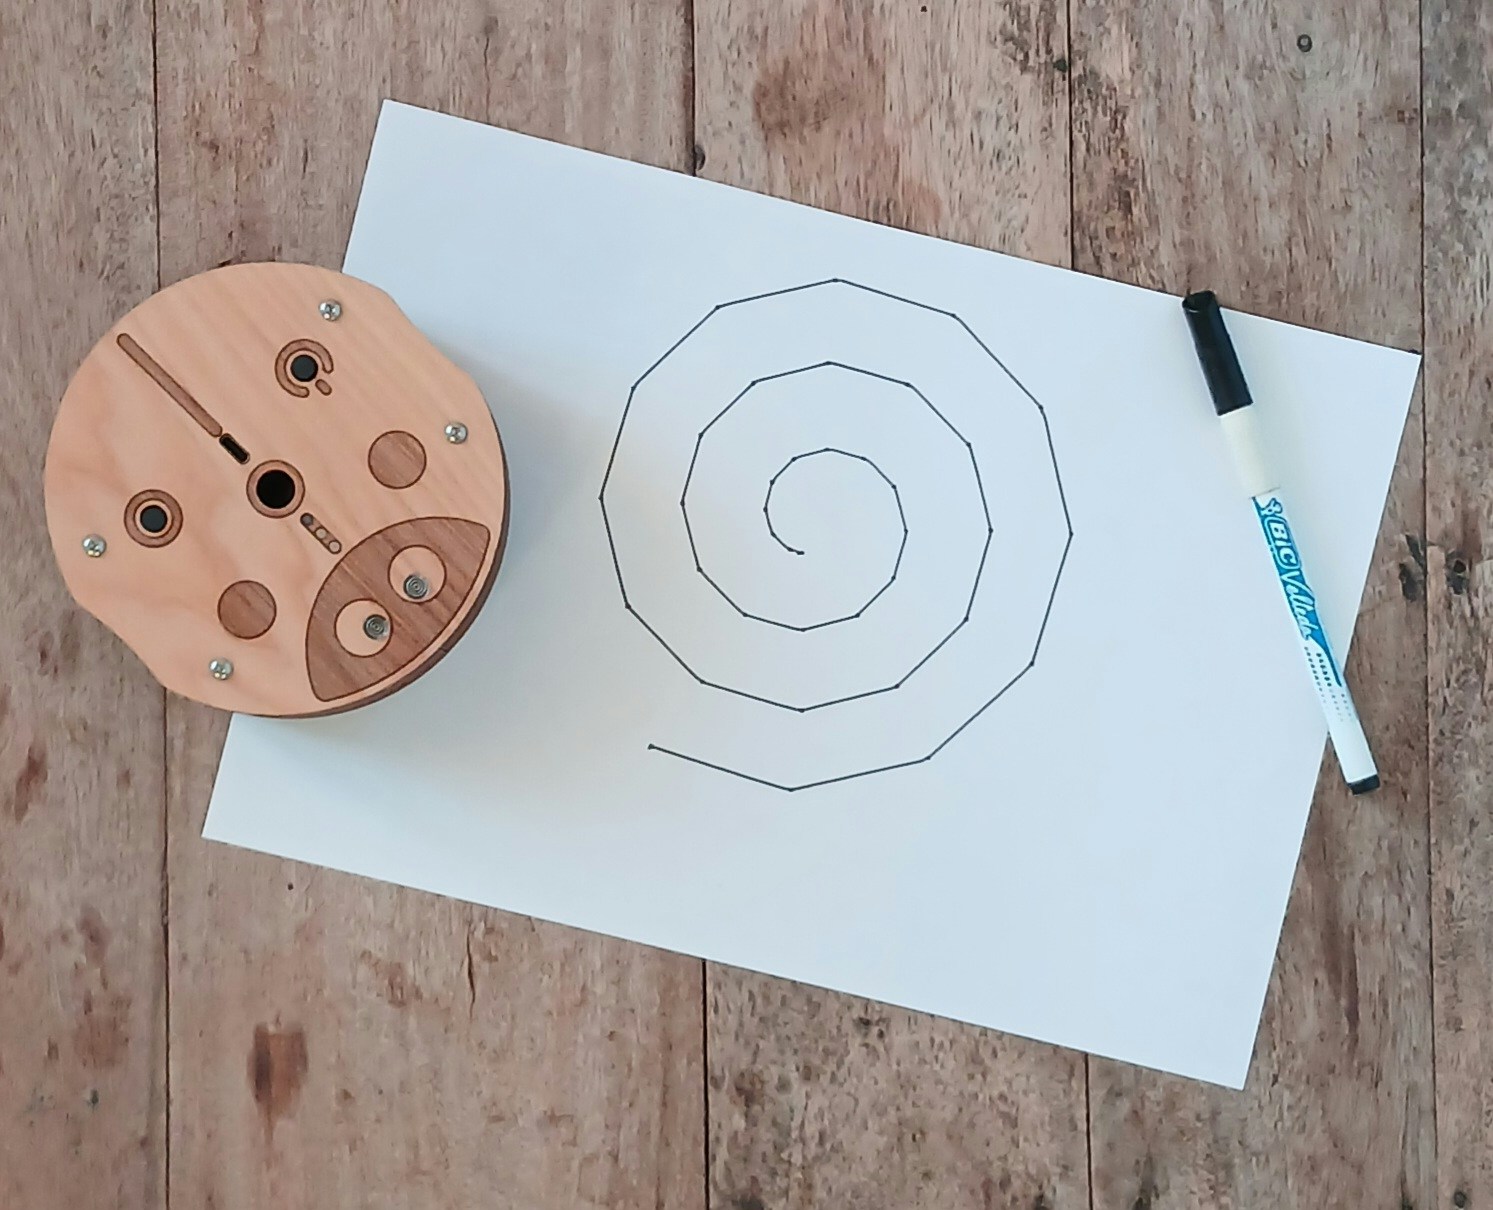
How Does It Work?
- Turn on the robot and the control panel.
- Using command tokens, create a movement program by placing them in the panel slots.
- Press the “Execute” button and the robot will execute the program.
Video presentation: youtu.be/Ztq_I1WBiVo
📺 More tutorials and examples on our YouTube PrimaSTEM channel
Who Is It For?
PrimaSTEM is designed for children and looks like a game, but it’s a flexible tool for educators and parents. It can be used to teach various subjects — mathematics, programming, physics, history, geography. Everything is limited only by the imagination and skill of the teacher or parents. The child acquires a mathematical and algorithmic foundation, which becomes excellent preparation for school and first experience with programming languages (Scratch, Logo, or Minecraft).